Friday 29 May 2020

tando binder workshop

 Di Oliver from Tando Creative hosted an online workshop on facebook on 25th April, which I completely forgot about at the time. However, the kit was still available, and the workshop sessions are saved on to the facebook group, so I decided to play catch-up.

This is something completely outside of my comfort zone, but I loved the colour scheme Di had chosen, to say nothing of people's finished binders,  so ordered the kit.

Took a while before I had a chance to play, and I did watch the sessions a couple of times before I actually took the kit out of the bag! Good solid grey board pieces, plus some lace that I didn't use to use as ties.


Once I plucked up the courage to have a go, it was actually really easy to do, excellent instructions to follow and so easy to replay bits I wasn't sure about.

 Spread out over a couple of weeks, plus a week searching for the embossing folders and stencils I'd tidied away somewhere earlier and forgotten where - needless to say, the place is in even more mess now than it was, but I did eventually find some of them....- this is my finished binder.


I was very pleased with it, and am looking forward to actually joining in with the second workshop tomorrow, which is a framed butterfly piece.


Tuesday 19 May 2020

imagination rules

 The one advantage of the current situation is being able to get inky without the guilty feeling that you should be doing something else.......and it is amazing what you find if you do give in to the guilt and start tidying up!

I loved the blueprint sets of stamps from Chocolate Baroque , and decided to try to combine them all with my current passion for concertina cards, and this was the result. 

I used 12x12 white card as the base, cut into 4" wide strips and scored at 4" intervals - one strip was cut down to two squares to join the otheres together.


I started by making the background, using distress inks in peeled paint and broken china splodged onto a craft mat and spritzed with water.

Once dry, I randomly stamped the background with some of the geometric images from the sets and some from make  your mark using mostly the blue ink, but a few in the green.

 Once everything was dry, I stamped the images using black versafine  and clear embossing powder.
Most of the flowers were coloured with watercolour pencils or watercolour paints some have been decoupaged as well.
   I added some sentiments from the sets 
I used the spare bit of card to make a small tag, and the pocket to hold it

Sunday 3 May 2020

rainbow butterfly

Sharing a card made using goodies from Artisan Design, the new spirelli stencil and my old favourite the ragged dragon butterfly stamp.
I wanted to create an image that reflects the strange times today, hence the dark background and the bright butterfly.
I used distress oxide inks in the background, and firsty stamped  the butterfly in black and clear embossed it.
Butterfly then stamped and clear embossed onto white card then coloured with alcohol marker pens before fussy cutting out and glueing over the original image - saves cutting the very fiddly bits out!


http://craftstamper.blogspot.com/
makeit takeit challenge May
https://allsortschallenge.blogspot.com/2020/05/week-570-butterflies.html

sweet pea heart

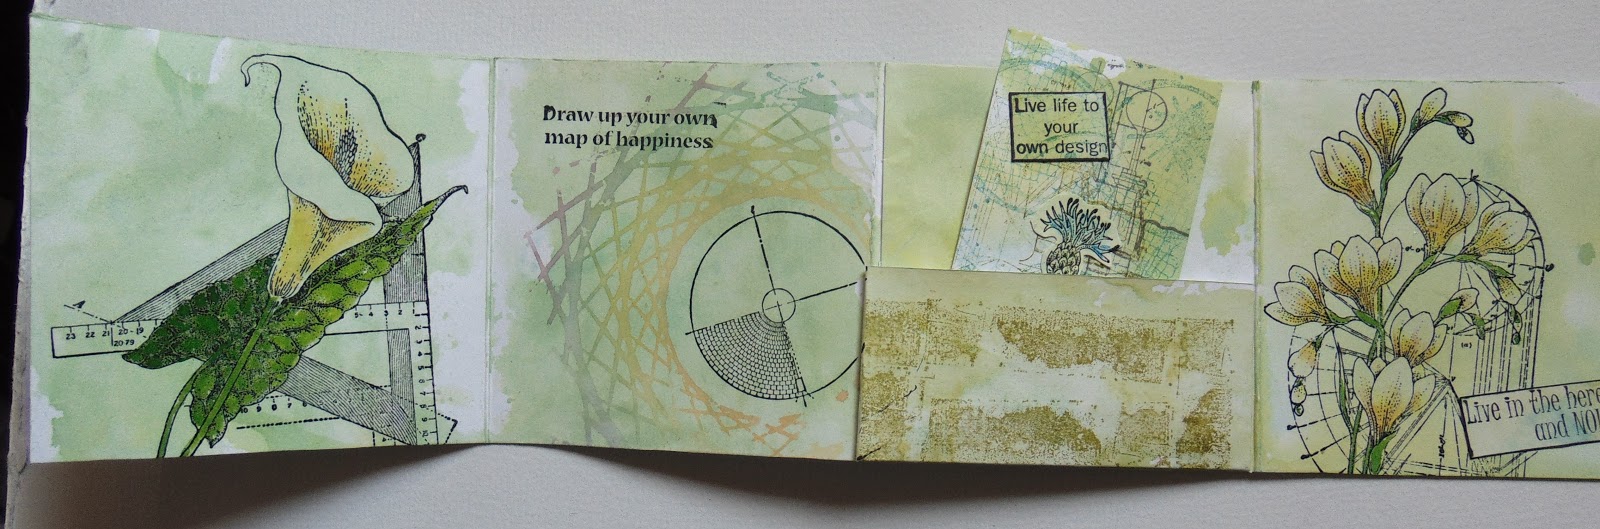
 This card uses a mix of stamps from the sweet pea blueprint and cornflower blueprint stamp sets from Chocolate Baroque.
I started by using the heart stamp from the artist trading heart set to create a mask and sponged round it with victorian velvet and dusty concord distress inks, then added more victorian velvet into the centre of the heart.
I stamped the blueprint from the cornflower set using the dusty concord ink, and then the smaller sweet pea image and the sentiment using versafine black. The flowers were coloured with watercolour pencils. The mat was white card coloured with alcohol marker to match the background.


My second card is from an earlier set of stamps, using the lovely magnolia from happy flowers day.
The background was created on a gelli plate, using distress oxide inks and brusho powders - I ended up with rather more water than I had intended on the plate, but thought the splodges went with April showers....
The magnolia was stamped using black versafine and clear embossed, then coloured with watercolours.
trimmed down to fit a white 6" square card blank and edged with alcohol marker.
I left it without a sentiment for now, as it will have one added  when I need a card in a hurry.

I do hope you are all managing to keep well and cheerful in these strange times, I find all the facebook live craft videos are great  - though if I watch them all live  I would never get anything done, so a lot are on the catch-up later list - though I do make an effort to watch Lesley and David at 1.30 each weekday on the Chocolate Baroque  facebook group page, there have been some great demos and inspiration, and Lesley is currently doing a series talking about the varieties of ink pads available.